Monday, September 9, 2013

Lost My Mind

 So I've been loving Lazy Oaf lately. The style is so unique and kind of funny; I'm really into the graphic 1990's prints and colorful designs. Ever since their collaboration with Nasty Gal I've been following the line. Their watermelon shorts were the inspiration for this copycat watermelon denim I posted awhile back on this blog. Anyway I noticed this amazing crop top, also pictured below. I really wanted it, but it's from England and is sold in pounds. I'm not sure if you're aware but the current exchange rate is not really in our favor right now. It's also pretty much sold out and unavailable anywhere I could conveniently purchase it.
My next thought was to create something similar myself. The font, however, unlike this melty font I've created before, is difficult to replicate by hand. I was kind of at a loss when I stumbled upon Strange Cargo. Now, whenever I'm in Chicago I try and hit up Strange Cargo because its a pretty cool store. I didn't realize until I was on the website that they custom make t-shirts with any lettering you want. This peaked my interest! I started playing around with designs and different t-shirts. Now of course they don't have crop tops or shirts with a similar blue outline like the Lazy Oaf original. I did however create a similar design, with the exact same font! I put spaces between each letter to spread it out more and I used a baseball shirt because it was the closest I could come to the design. I figure I would always cut it myself to make it a crop top.


Now of course this is not completely homemade but it only cost $26, including shipping, which is a much more reasonable price for a t-shirt!

Gradient Crop Top

This Dime Piece crop top, pictured below, was the inspiration for this project. Since it was out of my price range I wanted to attempt making it myself. I like everything about it but chose not to do the lettering, just the gradient and the flowers.


I started with a simple cotton, racerback tank top; it ran me about $5. I used Tulip tie dye in pink, blue and yellow. I chose this kit because those are basically the primary colors and I was able to blend them to make greens and purples. I chose to make my gradient vertical rather than horizontal because it tends to be more figure flattering. I cut the tank top appropriately for a crop top and then scrunched it horizontally. I applied the dye carefully and in vertical strips, this allowed it to feather into the scrunches and blend out. I tried to keep the blue from mixing with the red too much because it turns a pretty dark purple. As you can see picture above, the main colors are blue, pink, yellow and green. I like that combination to I chose to stay as close to it as possible.


After the crop top was tie dyed and washed I painted on the little white flowers. Again, I used Tulip fabric paint and gave each flower a different neon center color. It's not pristine but I like the edgy, homemade nature of it, it adds to the 90's feel. It was certainly much cheaper than the inspiration piece!


This is a photo of me wearing the crop top at Pitchfork Music Festival this year!

Neon Destroyed Denim Shorts

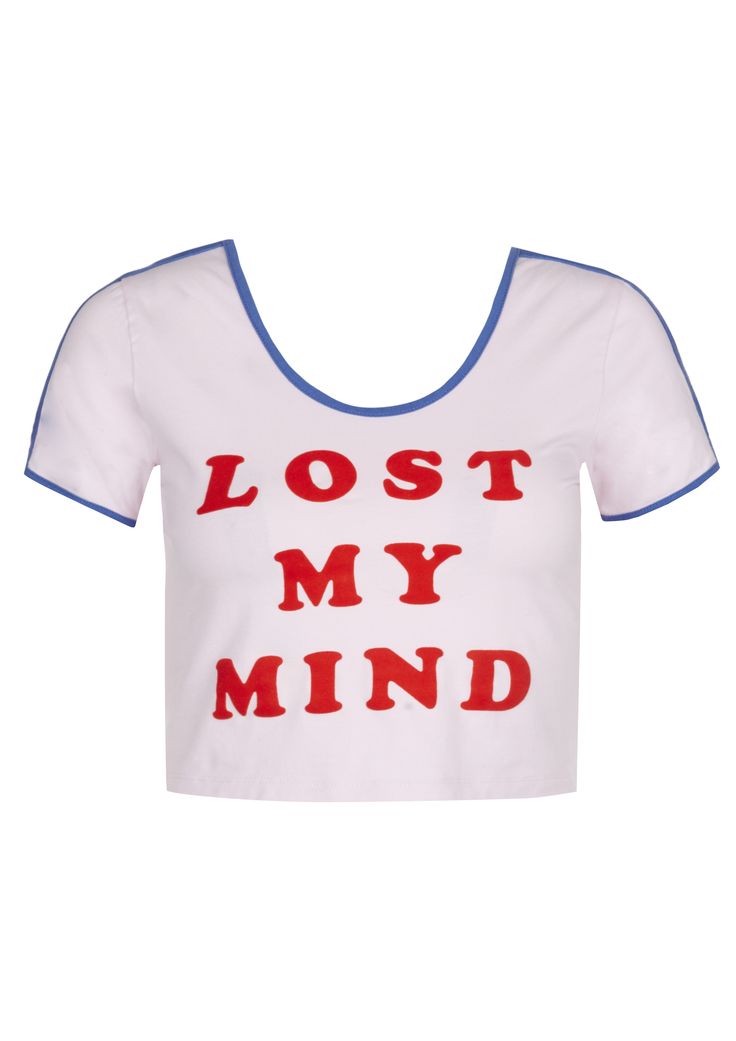
So I was browsing the clearance department of my local Urban Outfitters and I saw these great pinkish/purple denim destroyed high waisted shorts, similar to these, which are also pictured below.


I tried them on and they fit great other than the fact that they had been cut booty short. This is completely unnecessary and annoying. I realized that these shorts were all different and they have obviously been thrifted and altered to bump up the price. Well, hey, I can do that too. Thus began my journey to creating my own colorful array of destroyed high waisted denim. 
Click to enlarge!


I did my usual thing of perusing thrift stores and trying on denim shorts, capris and jeans to find some that fit perfectly.


This purple pair was the first I made, in attempt to replicate the ones I had seen at Urban Outfitters. The jean shorts started out a relatively dark blue. I bought Tulip fabric dye in pink. The pink was perfect because it turned the blue parts purple and gave the lighter frayed bits a pinkish tint. 


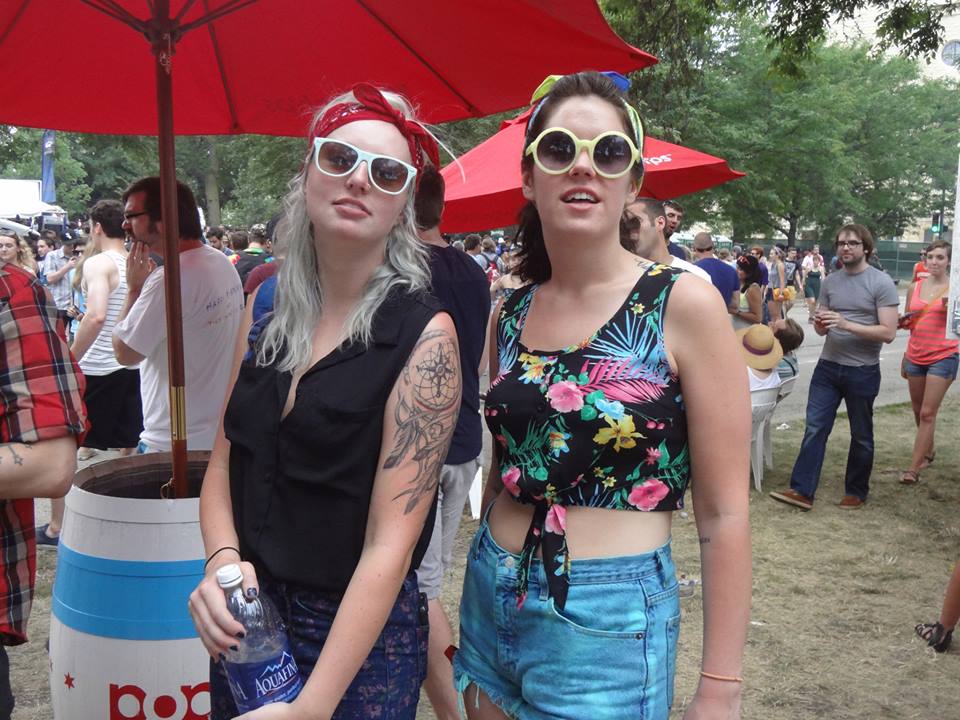
I was super excited about the success of my first pair so I decided to make more! I wanted a different pair to wear each day of this year's Pitchfork Music Festival in Chicago. I think I had dwindled their supply of mom shorts at the thrift store so I had to go to a few more places. I ended up trying on jeans and capris as well as shorts. This here turquoise pair below were originally full length mom jeans. I tried them on and they seemed to fit snug enough so as to not flare out strange at my thigh. I measured and cut them appropriately.


I acid washed this pair and the yellow/green pair a bit before I dyed them. I put Clorox Bleach in a spray bottle and just went to town on the shorts. Do this outside and make sure the wind is blowing away from you because I got a good amount of bleach in the face....and it burned. It was quite the process because I laundered them afterwords, not knowing if the bleach would affect the dye. Well I experimented with my final red pair and the bleach doesn't seem to affect the dye at all so I think it's possible to avoid the in between step of laundering. I dyed these with Tulip turquoise.


This greenish pair began as capris; I was drawn to them because of their uniquely large, square front pockets. They started out a very light blue denim color and I did a little dye mixing with these; majority Tulip lime and a couple cupfuls of the turquoise to darken.


I made this last, red pair in order to show my best friend the process and help her make some as well. Again I acid washed these (a bit too much I think) and then used the Tulip dye in red. I'm thinking the next step with these is to add a row of studs on one of the front panels. Studding is a pain in the ass though, which is why it has yet to be done.


Here they are below, in all their glory. For the price of one pair of Urban Outfitters shorts (on sale, even), I made four pairs! It's great because you cut them yourself and color them yourself, you know they will fit how you like and you can play around with bright colors.


Here are a few pictures of me in the shorts from P4k 2013! <3


I hope you enjoy and are inspired to take matters in your own hands and not waste your money at expensive stores when all this is easily possible!


Friday, September 6, 2013

Flower Crowns II

Here are some more pictures of me modeling each of the flower crowns a made from this post.

Click to enlarge!


Wednesday, September 4, 2013

Flower Crowns

So I'm a little late on the flower crown train, since summer is nearly over. I've been seeing them all over festivals and fashion blogs but can't justify purchasing one that I will likely never wear. This is an example crown for sale at Urban Outfitters, also pictured below, it just happens to be gigantic and way out of my price range. 


They are often too big to be worn anywhere besides some fantastical festival or fashion blog. I decided to try my hand at making a wearable flower crown.


Click to Enlarge!


I started with a few cheap headbands and some fake flowers. The fake flowers turned out to be perfect because the flowers pop right off the stem. It was also handy because I used the leaves as a back to cover the glue and make the crown/headbands pretty from front and back. I used a hot glue gun and just got to work. All of these items came from my local craft store and I got lucky because all of the flowers were 50% off! I chose to use headbands because they are easier to wear and not to festival-y.


I used some felt flowers that I found as well, which you can see in the photo above. I thought they were nice and a little more gothic and edgy.


I had some extra hair clips lying around so I decided to use the leftover flowers and make little clips and hair accessories. Like I said earlier, the leaves are great to cover things you don't want visible.


I'll try and post more photo's modeling the crown's soon.
I would love to hear your feedback and answer any questions!

Inspired Outfit #1

Click to enlarge!


HatNasty Gal
Sunnies: Purchased from Vendor at 
Pitchfork Music Festival
Shirt: JC Penny, $5 on sale!
Pizza NecklaceEtsy, Treasured Charms

Monday, August 26, 2013

Melting Life

A while back I was getting inspired by all sorts of melty designs such as this and this. The second link is a Mean Girls reference, obvs. I wanted it so bad but couldn't justify paying that much for an awkwardly oversized sweatshirt. So I decided to make it myself. 

I found my sweatshirts at stores such as Wal-mart or Target, just your average workout sweatshirt. The Ombre style one came from Target. I used the Tulip fabric paint I've used for my last projects. You can use either Q-tips, paint brushes or whatever tool you like to paint the words. I used this and the others as a template for my lettering. Once my inner Mean Girl was satisfied I went on to make the Coco Chanel knock off melty sweatshirt. The great thing about making your own is you can choose your own colors and get a sweatshirt that won't completely drown you.

I took the melting design to the nail level in my last photograph. I waited for the base color to dry and then applied the melty tip design with a bobby pin freehand.